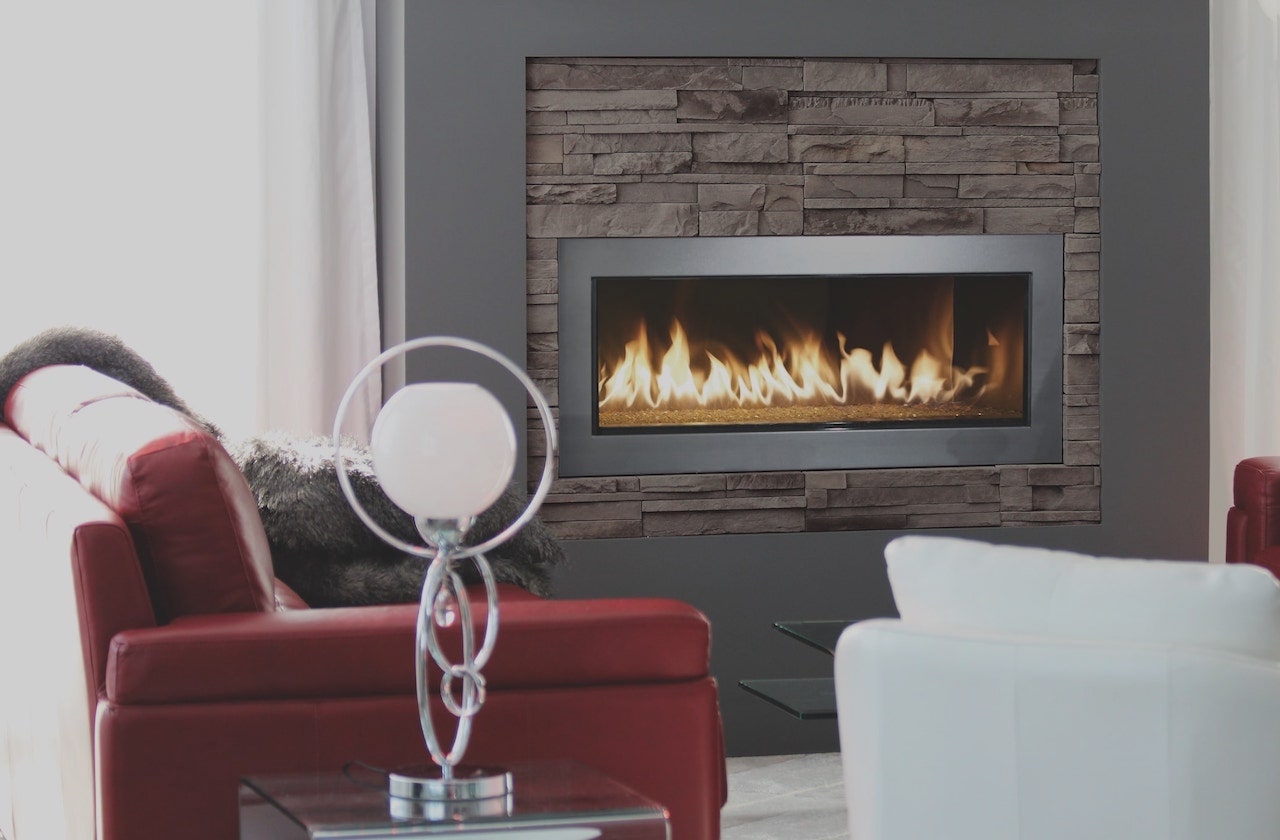
7 Simple Ways to Utilize Interior Stone Veneer in Your Home
September 20, 2021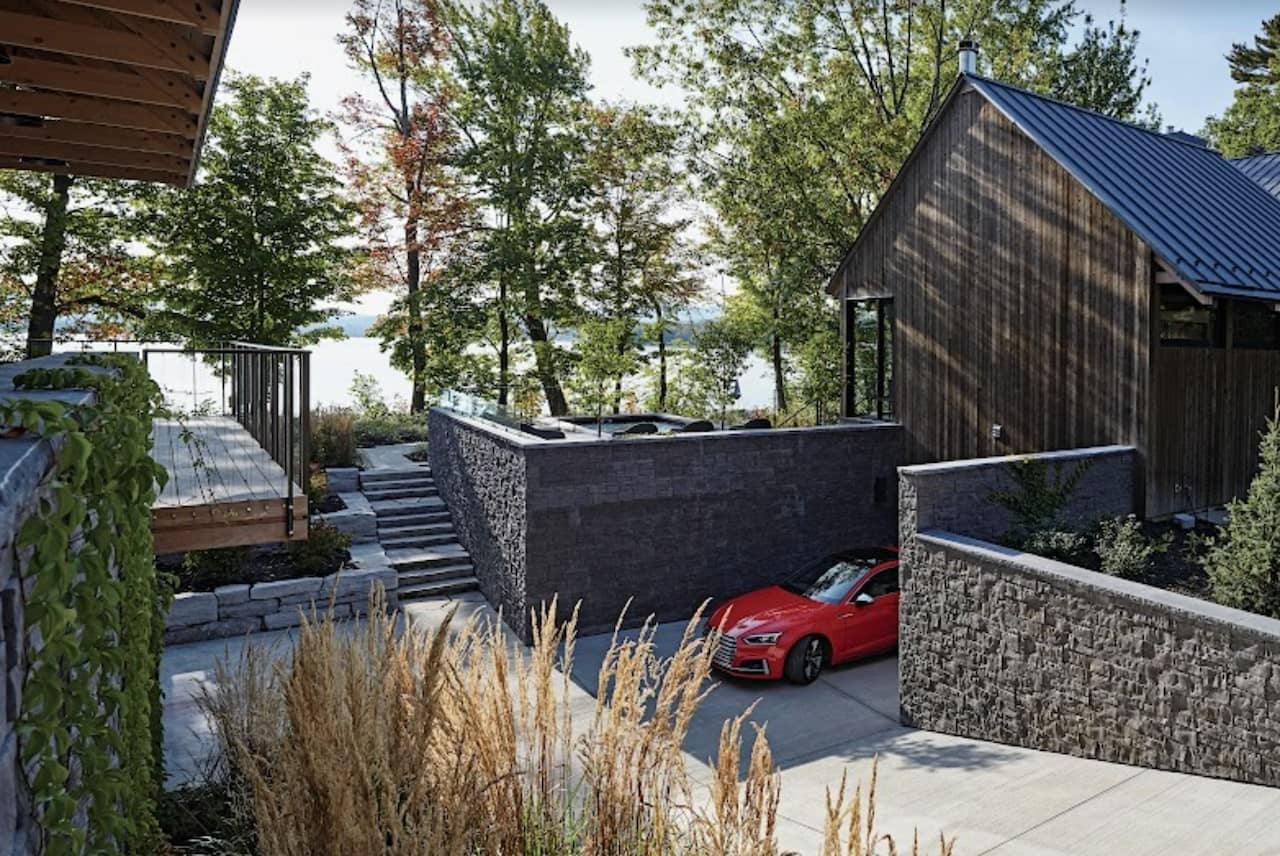
How to Cover a Concrete Block or Wall with Stone Veneer
October 11, 2021If you are considering improving your home’s curb appeal by adding stone veneer but are wondering about installation, you’re in the right place. Installing stone veneer over brick may sound daunting, but trust us, it’s not that difficult.
We are going to discuss how to install stone veneer over a brick exterior and share the best tips and tricks to make the process seamless. Keep reading to learn more about the installation process for Be.On Stone panels.
Can You Put Stone Veneer Over Brick?
First things first, can you even put stone veneer over brick?
Yes! With stone veneer panels from Be.On Stone installing faux stone over brick is simple. It can be done by a professional contractor or as a DIY project at home. Either way, putting stone veneer over brick is possible and gives your home a brand new look.
How To Install Stone Veneer Over Exterior Brick
So how do you install stone veneer over brick? It is rather simple as long as you have the proper tools and prepare in advance.
Calculate the Material Needed
You will need to calculate the amount of material needed for your exterior stone veneer project to ensure you buy the proper amount of material. To calculate the area you need to cover, multiply the length by the height.
Length (ft) x Height (ft) = Area (sq. ft)
For Be.On Stone panels, there is a simple way to determine the number of panels you will need. All you need to do is divide the area (measured in sq ft) that you calculated above by two. For example:
Length (16 ft) x Height (8 ft) = 128 sq. ft ÷ 2 = 64 panels
We recommend you order a few extra panels just in case.
Get Out Your Tools
The installation of Be.On Stone panels requires a few tools, but luckily they are common tools you likely already have at home. For the installation process, you will need to gather a:
- Drill
- Screwdriver
- Table Saw
- Concrete Hand Grinder
- Level
- Measuring Tape
- Sheet Metal Cutter
Install the Starter Strip
To start the installation of stone veneer over a brick exterior, attach the starter strip along the full length of the wall. The strip has perforations to prevent water accumulation. Mark a horizontal line 64 mm above the planned base of the stone wall.
Screw the top of the starter strip along the line you drew every 12 inches. Then apply a building cladding tape to the upper part of the starter strip.
Install the Panels
Now, you can start installing the stone veneer panels to the starter strip. Cut your panel to the size you want, then place it on the wall. Screw the panel securely to the brick wall. Continue until the first row is complete.
Offset the second row of panels and continue until you reach the final row. For the final row, you will need to cut the panels lengthwise to ensure a perfect fit. Install the last row of panels with 6 mm between the panel and the ceiling or finished surface.
5 Tips for Installing Stone Veneer Over Brick Exterior
Here are five tips from the experts for installing stone veneer over brick exterior.
1. Use Be.On Stone’s mortarless system
The easiest way to install stone veneer over exterior brick is to use Be.On Stone’ mortarless system. Unlike other stone veneer providers, Be.On Stone doesn’t need mortar for installation. We’ve created an effective mortarless system for stone veneer siding.
2. Use a water weather-resistant barrier
We suggest before you install stone veneer over brick, to install a water weather-resistant barrier of some sort to ensure the integrity of the surface. This will protect against any water infiltration. Be.On Stone panels also use a D.RAIN system to ensure safe drainage in the case of any water infiltration.
3. Make sure to use a level
It’s important to use a level to ensure that the stone veneer panels are placed on the walls at the right angle. You want it to be straight and level from the start. Check the level each time you start a new row.
4. Stagger the panels
To reproduce the appearance of natural stone, stagger the placement of the joints. This will give the look of natural stone formation instead of being artificial. If it is uniform, the stone veneer siding won’t look as natural.
5. Install the last two rows simultaneously
We recommend that you install the final two rows at the same time. This allows you enough space to slide the last panel into place without any struggle. To facilitate this process, leave 6 mm of space between the last row and the ceiling.
Hopefully, this guide will help you to install stone veneer over brick. This exterior siding option is beautiful for any style home. The versatility of stone veneer is what makes it truly stand out among exterior siding.
Upgrade Your Home With Be.On Stone
If you are looking for stone veneer siding, look no further than Be.On Stone. We provide our customers with a revolutionary approach to stone veneer. Our installation process is easy enough to do on your own.
Our products come with a 50-year transferable warranty so you know your investment is well protected. We provide stunning stone veneer in both the U.S. and Canada. Find a location that carries Be.On Stone products near you and get started today!
Contact us with any questions.