Installing Stone Veneer Over Plywood? Use These Expert Tips
November 10, 2021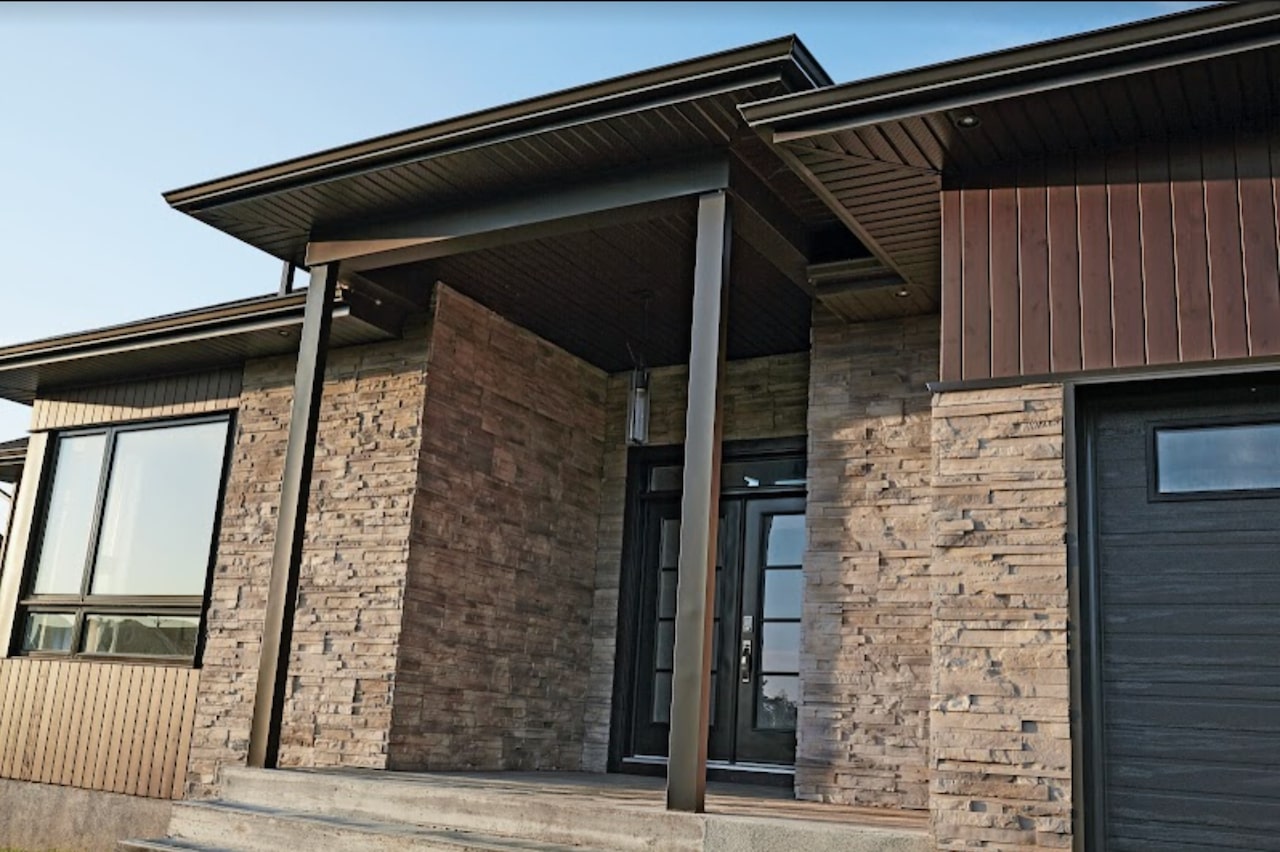
Stone Veneer Guide: What it is, Durability & How to Choose
December 8, 2021Looking for an affordable but luxurious home refresh? Install faux stone veneer over your drywall to give the appearance of natural stone.
Take a moment to read Be.On Stone’s guide to installing stone veneer over drywall with helpful tips and tricks to expedite the installation process. And learn why you should consider our mortarless system to give your space a facelift.
Can You Install Stone Veneer Over Drywall?
First things first, let’s answer the question, “Is it possible to install stone veneer over drywall?”
Yes! You can apply stone veneer panels over drywall easily at home. With Be.On Stone panels, the process is simple to elevate the exterior or interior walls of your home.
How To Install Stone Veneer Over Drywall
Now, we are going to review the steps you’ll take to install faux stone veneer over drywall at home. Read this list to prepare for your interior home improvement project.
Calculate the Material You Need
Before purchasing stone veneer panels from Be.On Stone, you will need to calculate the surface area you want to cover. You can determine how many panels to buy from the formulas below.
To measure the surface area, use this formula:
Length (ft) x Height (ft) = Area (sq. ft)
Then, you will take the surface area and divide it by two to get the number of panels needed to cover the wall(s). Here is a sample calculation:
Length (16 ft) x Height (8 ft) = 128 sq. ft ÷ 2 = 64 panels
This formula will give you the number of panels you will need to purchase.
Buy the Stone Veneer Panels
Next, you will order the stone veneer panels and starter strip you need. Use our store locator to find a distributor near you. We have locations across the United States and Canada.
Pro Tip: Purchase some extra panels (beyond what you calculated) to allow for mistakes and calculation errors.
Gather the Tools Needed
You will need several tools to install faux stone veneer over drywall. Luckily, Be.On Stone panels can be installed with tools you likely have at home.
The tools needed include:
- Drill
- Screwdriver
- Table Saw
- Concrete Hand Grinder
- Level
- Measuring Tape
- Sheet Metal Cutter
Pro Tip: If you don’t have every tool you need, consider asking family members, friends, or neighbors before buying them yourself. This will save you time and money.
Install the Starter Strip
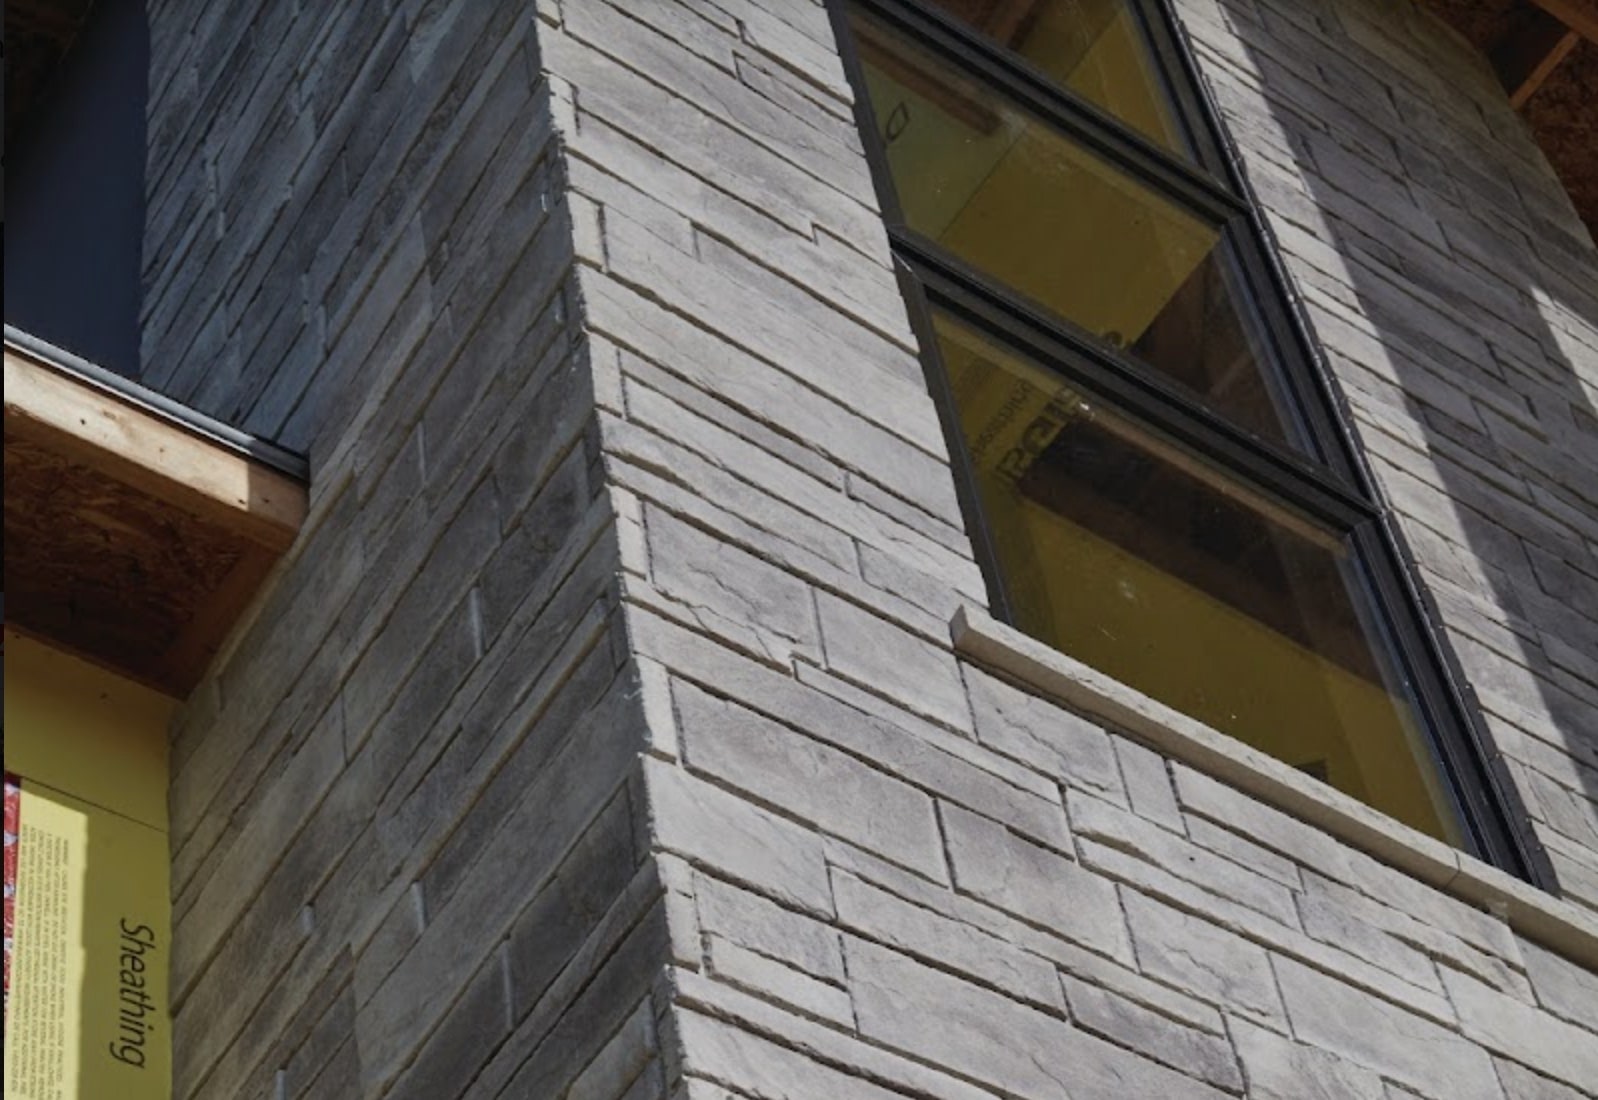
It is now time to install the stone veneer over drywall. First, you will install the Be.On Stone starter strip to the bottom of the area you want to cover. Mark a horizontal line 64 mm above the planned base of the stone veneer wall.
Place the top of the starter strip along the line you drew and screw it in every 12 inches along the full length of the wall. Then apply a building cladding tape to the upper part of the starter strip. This will be the base of the stone veneer wall.
Install the Stone Veneer Panels
Next, you can install the stone veneer panels along the starter strip. You can cut your panels to the desired size then place them on the drywall. Screw the panels to the drywall until they are secure. Complete the first row.
We recommend you offset the second row of panels and continue offsetting until you reach the final row.
The Final Row
To ensure a perfect fit, you may need to cut the stone veneer panels lengthwise. Install the final row leaving 6 mm between the panels and the ceiling or finished surface.
Pro Tip: We recommend installing the last two rows simultaneously to streamline the installation process. This makes it easier to slide the final panel into place without any struggle.
Now you know how to install stone veneer over drywall and are almost ready for your project! Hopefully, you have a clearer understanding of how applying stone veneer to drywall works with Be.On Stone panels.
Continue reading for some more pro tips to make installation seamless.
Tips for Installing Stone Veneer Over Drywall
Once you get into the zone, installing Be.On Stone panels is a simple DIY project. Here are some tips to help you complete your installation process.
Stagger the panels
Staggering each row will give you the appearance of natural stone. Rock formations are not uniform, so staggering the panels helps keep the wall from looking artificial. To do this, you will need to stagger the placement of the joints.
Watch Video Tutorials
If you would like to see the installation process on video, visit Be.On Stone’s YouTube channel. We offer video tutorials outlining how to install stone veneer panels with our mortarless system. This will help prepare you for your own installation project.
We also recommend downloading the installation guide PDF.
Installing Stone Veneer Over Drywall Is Simple With Be.On Stone
If you are looking to update your home and elevate its appearance with stone veneer, choose Be.On Stone’s mortarless system. Our panels are high-quality and will last for years to come. Our products come with a 50-year transferable warranty so you know your investment is protected.
You can use our visualizer tool to see what stone veneer could look like in your home. Browse our inspiration photos for ideas and contact us today for more information.