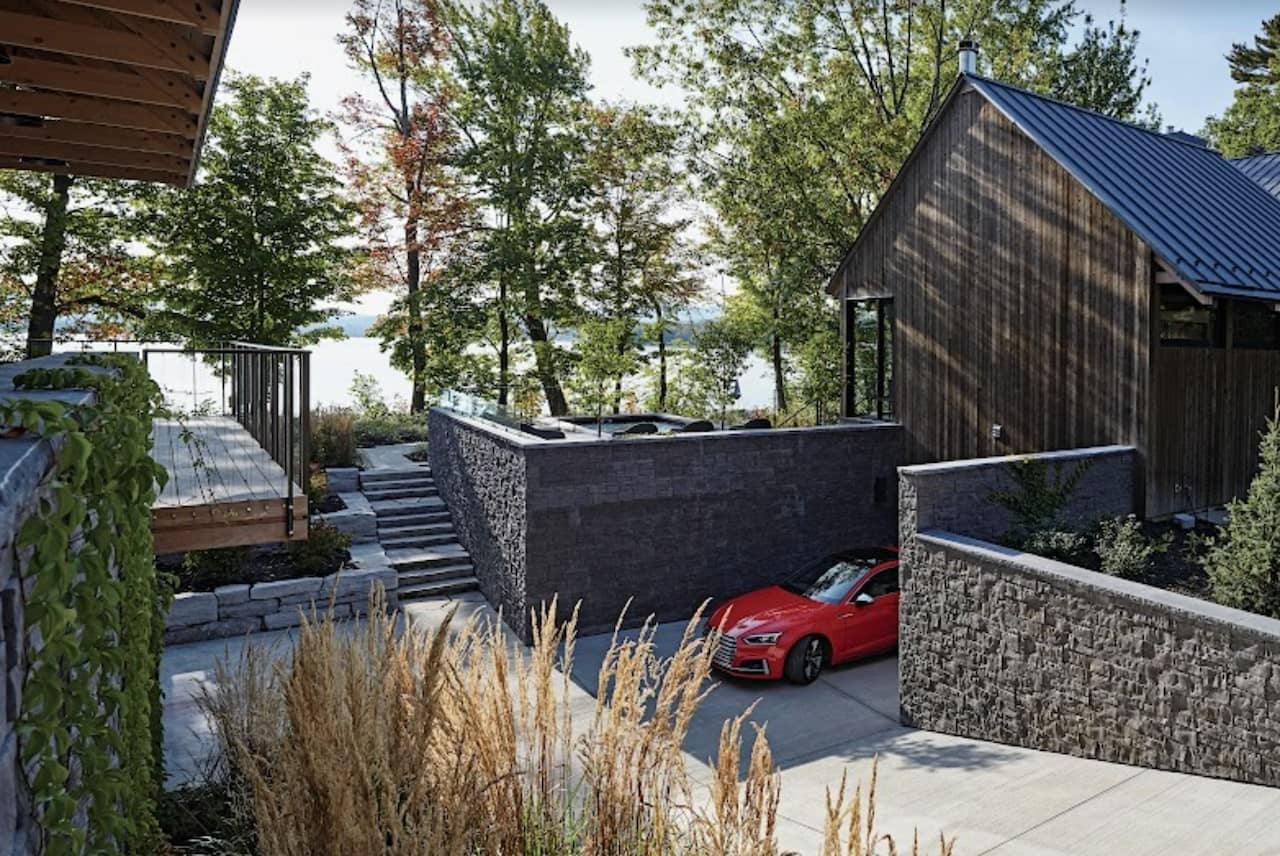
How to Cover a Concrete Block or Wall with Stone Veneer
October 11, 2021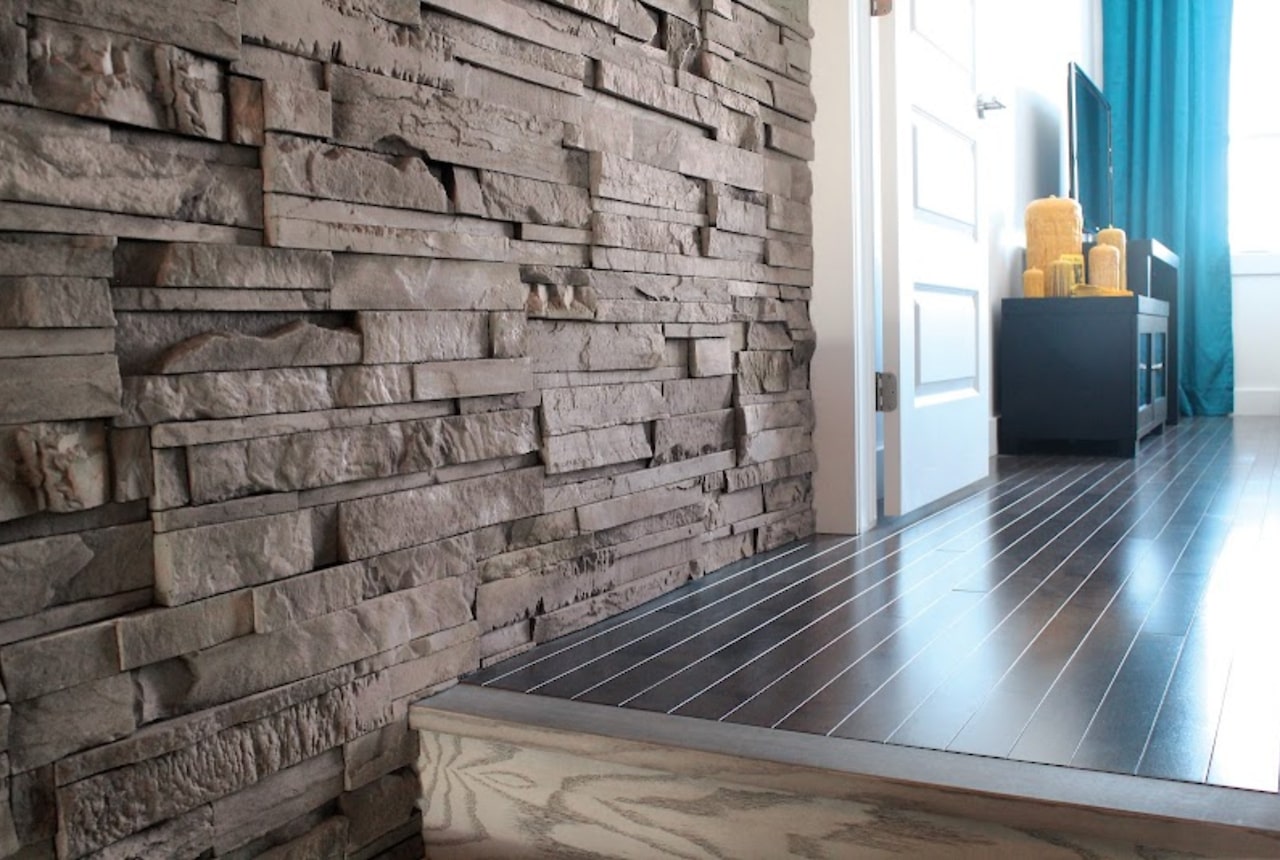
Installing Stone Veneer Over Drywall? Use These Expert Tips
November 16, 2021If you are looking to improve your home’s curb appeal by adding stone veneer you may be wondering if you can install it over plywood. We are going to discuss how to apply stone veneer panels over plywood and share helpful tips to make it a smooth process.
Read on to learn about installing stone veneer over plywood and Be.On Stone’s simple installation process.
Can You Install Stone Veneer Over Plywood?
First of all, let’s answer the question of whether you can install faux stone veneer over plywood. Yes, you absolutely can make this upgrade to your home and may be able to do it yourself if you desire.
With Be.On Stone panels, applying stone veneer over plywood is easy! Keep reading to learn the steps to take for this exterior home project.
How To Install Stone Veneer Over Plywood
It’s rather simple to install stone veneer over plywood as long as you prepare in advance. Follow these steps to streamline the process.
Calculate the Amount of Material Needed
You will want to purchase the correct amount of stone veneer panels from Be.On Stone for your project. To do this, calculate the surface area of plywood you want to cover. The formula for calculating surface area is below:
Length (ft) x Height (ft) = Area (sq. ft)
To determine the number of Be.On Stone panels you will need, do another simple calculation. All you need to do is divide the area (measured in square feet) that you calculated above by two. For example:
Length (16 ft) x Height (8 ft) = 128 sq. ft ÷ 2 = 64 panels
We recommend that you buy a few extra stone veneer panels in the event of an accident or mismeasurement.
Prepare Your Tools
The next step after purchasing your stone veneer panels is to gather your tools. Luckily our products are installed using basic tools you probably already have lying around in your garage or shed. The tools you’ll need to install stone veneer over plywood include:
- Drill
- Screwdriver
- Table Saw
- Concrete Hand Grinder
- Level
- Measuring Tape
- Sheet Metal Cutter
Install the Starter Strip
Next, you will begin your home improvement project. To begin, install the starter strip along the full length of the wall. The starter strip has perforations to prevent water from accumulating. Mark a horizontal line 64 mm above the planned base of the stone veneer wall.
Screw the top of the starter strip along the line you drew every 12 inches. Then apply a building cladding tape to the upper part of the starter strip.
Install the Faux Stone Veneer Over Plywood
Now it’s time to start applying stone veneer over plywood. You should cut the panel to the size you want, then place it on the wall. Screw the panel to the wall securely and repeat the process until the first row is complete.
For the second row, offset the panels and continue repeating the process offsetting each row. Once you reach the final row, you will likely need to cut the panels horizontally to ensure a proper fit. Install the last row of panels with 6 mm between the panel and the ceiling or finished surface.
5 Tips for Applying Stone Veneer Over Plywood
Here are several tips for installing stone venerable panels over plywood at home.
1. Use Be.On Stone’s mortarless system
One tip for applying stone veneer over plywood is to use Be.On Stone’s mortarless system. Save the hassle of mortar and grout by buying Be.On Stone panels. We’ve created a high-quality installation process without the need for grout or mortar.
2. Use a water weather-resistant barrier
We recommend placing a weather-resistant barrier before installing the stone veneer panels. This will help maintain the integrity of the plywood surface, and water infiltration will be less likely to occur if you take this extra step. Be.On Stone panels also have our patented D.RAIN system to ensure proper drainage.
3. Use a level for precision
Make sure to use a level when placing the panels on the wall. This will ensure the panels are at the right angle and are straight. Check the level each time you start a new row.
4. Stagger the panels
Staggering the panels when installing stone veneer over plywood produces the appearance of natural stone. On the other hand, if it’s all uniform, the wall will look artificial.
5. Install the last two rows simultaneously
The final two rows should be installed at the same time. This gives you ample space to slide the last panel into place. To facilitate this process, leave 6 mm of space between the last row and the ceiling.
We hope this guide to installing stone veneer over plywood was helpful and you feel confident taking on this project.
Deck Your Walls With Be.On Stone
If you want to install stone veneer over plywood, look no further than Be.On Stone. We’ve taken a revolutionary approach to stone veneer siding. Installing stone veneer panels over plywood is simple enough to do without hiring a contractor.
Our products come with a 50-year transferable warranty so your investment is safe. We are proud to serve both the U.S. and Canada. You can find Be.On Stone products from distributors around both countries using our product locator. Get started on your project today or contact us for more information.